
How to Clean Leather at Home: Restore Your Timeless Pieces
Caring for leather at home can seem daunting when the right cleaning method makes the difference between a lifelong treasure and an accidental ruin. Surprisingly, over-cleaning is the number one reason old leather develops cracks and loses its natural sheen. The clever bit is that with the correct supplies and gentle steps, you can actually extend your leather’s lifespan and keep it looking brand new for years to come.
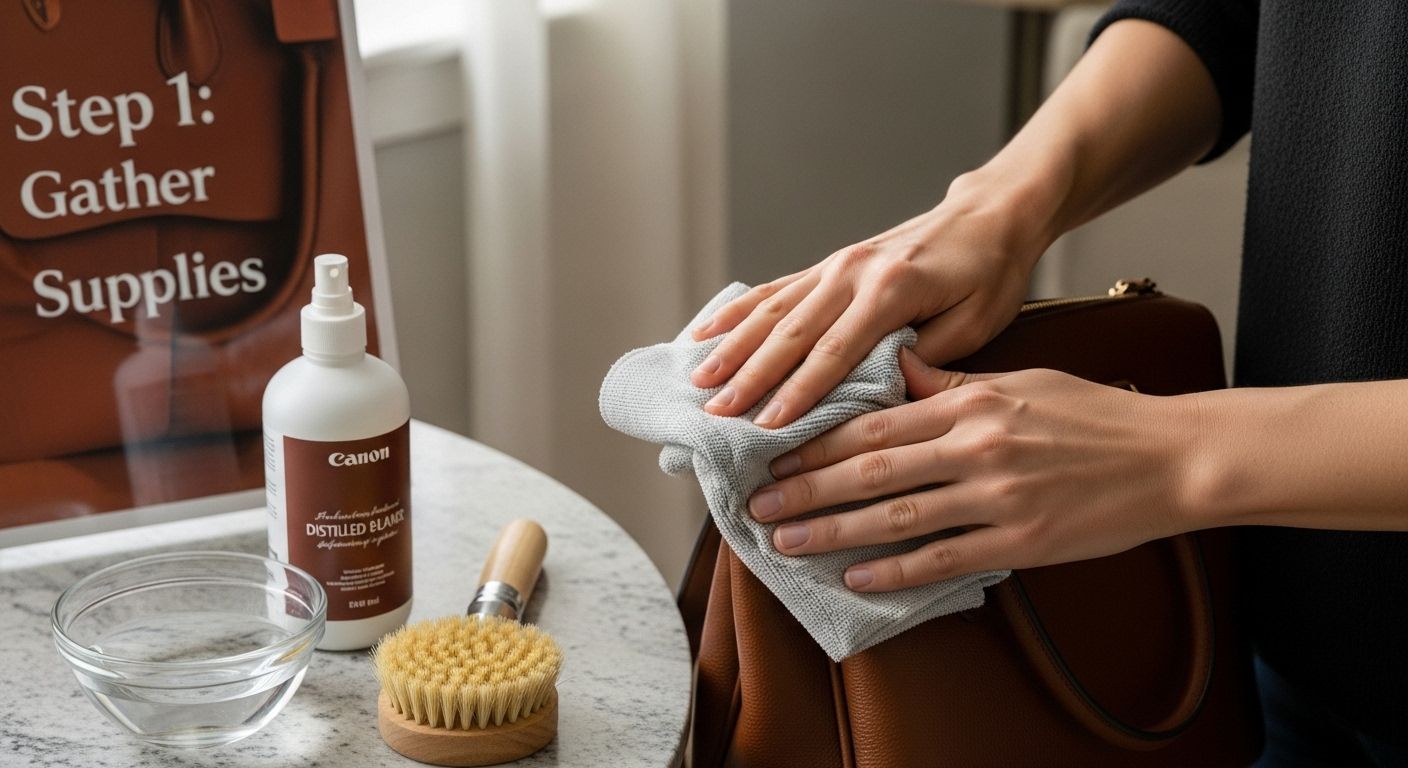
Table of Contents
- Step 1: Gather Your Cleaning Supplies
- Step 2: Test A Hidden Area For Discolouration
- Step 3: Clean The Surface With A Suitable Mixture
- Step 4: Rinse And Dry Properly To Avoid Damage
- Step 5: Condition The Leather For Longevity
- Step 6: Inspect And Assess For Any Remaining Stains
Quick Summary
| Key Point | Explanation |
|---|---|
| 1. Gather Essential Cleaning Supplies | Use soft cloths, specific cleaners, and a soft-bristled brush to avoid damage while cleaning leather. |
| 2. Test Cleaning Solutions on Hidden Areas | Always check for adverse reactions by applying cleaners to an inconspicuous area before full application. |
| 3. Clean with a Mild Soap Mixture | Use a pH-neutral soap and distilled water to gently clean without saturating the leather to maintain its integrity. |
| 4. Rinse and Dry Carefully | Use a damp cloth to rinse lightly and air dry at room temperature to prevent warping or discolouration. |
| 5. Condition to Restore Leather Suppleness | Apply a small amount of conditioner evenly to restore oils and prevent cracking, focusing on high-wear areas. |
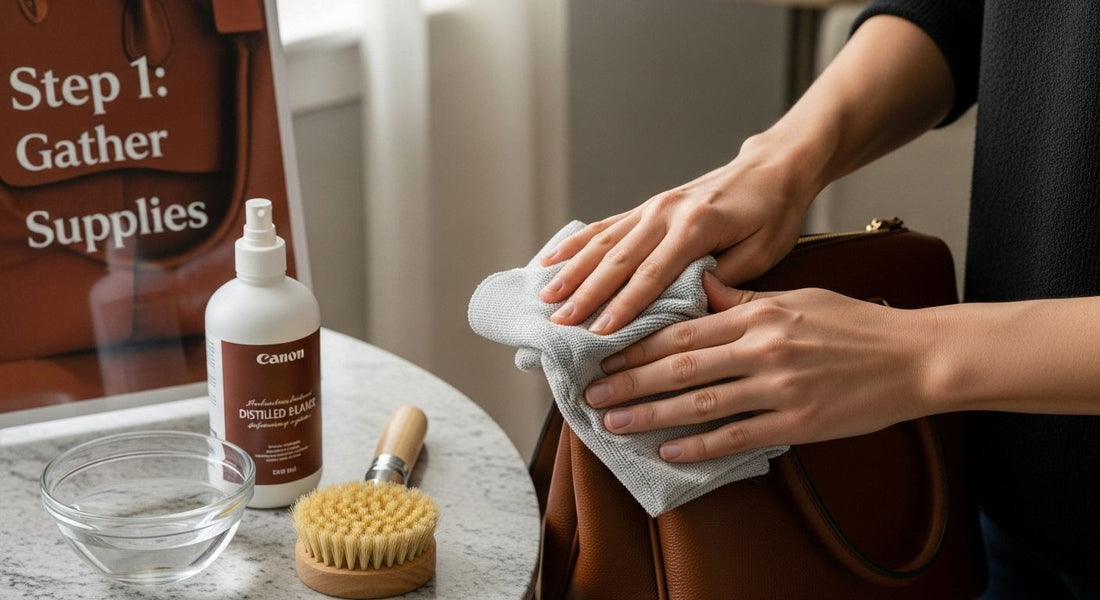
Step 1: Gather Your Cleaning Supplies
Cleaning leather at home requires precision and the right tools. Before diving into the restoration process, gathering appropriate cleaning supplies ensures you protect and maintain the quality of your cherished leather pieces. Proper preparation prevents potential damage and sets the foundation for successful leather care.
Your essential cleaning toolkit should include soft, lint-free cloths made from microfibre or pure cotton. These materials are gentle enough to prevent scratching delicate leather surfaces while effectively removing dust and light debris. Avoid using rough towels or paper products that might leave behind lint or potentially damage the leather’s surface.
To ensure you have everything required before starting, here is a handy reference table listing all essential leather cleaning supplies alongside their purpose and any key usage notes.
| Item | Purpose | Notes |
|---|---|---|
| Microfibre/cotton cloth | Dusting, cleaning, rinsing, drying | Lint-free, soft to avoid scratches |
| Soft-bristled brush | Gentle dust removal | For surface dirt—avoid stiff brushes |
| pH-neutral leather cleaner | Cleans surface; removes grime | Specifically for leather; avoid all-purpose cleaners |
| Leather conditioner | Restores moisture and suppleness | Choose for your leather type, use sparingly |
| Distilled water | Diluting cleaner, rinsing | Prevents mineral spots, safer than tap water |
| White vinegar | Treats stubborn stains | Use only as spot-treatment for tough marks |
| Leather protectant spray | Shields leather from future stains/damage | Apply after cleaning and conditioning |
| Clean dry towels | Absorbing moisture after rinsing | Use white, soft towels—no coloured lint or rough texture |
Choosing the right cleaning solution is crucial. According to the University of Georgia Extension, specialised leather conditioners like Neatsfoot Oil can help prevent leather from becoming dry and brittle. Look for pH-neutral leather cleaners specifically designed for your type of leather - whether it’s full-grain, top-grain, or suede. Avoid harsh household cleaners or all-purpose solutions that might strip away natural oils or cause discolouration.
Additional items you’ll want to have on hand include:
- Soft-bristled brush for gentle dust removal
- Leather conditioner
- Clean, dry towels
- Distilled water
- White vinegar (for stubborn stains)
- Leather protectant spray
Before beginning, inspect your leather item carefully. Check for any existing damage, colour variations, or delicate areas that might require extra care. If your piece is vintage or particularly valuable, consider consulting a professional leather restoration expert before attempting home cleaning.
By methodically gathering these supplies and preparing your workspace, you’re setting yourself up for a successful leather cleaning experience. The right tools and approach will help you restore your leather’s natural beauty and extend its longevity.
Step 2: Test a Hidden Area for Discolouration
Before applying any cleaning solution to your entire leather piece, testing a small, inconspicuous area is a critical step in preventing potential damage. This precautionary measure helps you understand how your specific leather will react to the cleaning product, ensuring you protect the integrity and appearance of your cherished item.
Choose a hidden location such as an inside seam, interior corner, or bottom edge where any potential discolouration or reaction won’t be immediately visible. These areas provide perfect testing grounds that mimic the leather’s overall composition without risking noticeable damage. For handbags, consider the bottom interior; for leather jackets, check underneath a collar or inside a pocket.
According to the Leather Research Laboratory, incompatible cleaning products can cause significant issues like finish peeling, colour transfer, and general leather degradation. To conduct your test, apply a tiny amount of your chosen leather cleaner onto a clean, white microfibre cloth. Gently dab the hidden area, watching carefully for any immediate changes.
Look for these critical signs during and after testing:
- Colour bleeding or transfer onto the cloth
- Sudden darkening or lightening of the leather
- Unusual texture changes
- Visible chemical reactions
If no adverse reactions occur within 10-15 minutes, you can proceed with confidence. However, if you notice any concerning changes, immediately stop and consider consulting a professional leather restoration expert. Different leather types - such as full-grain, top-grain, or suede - may react uniquely to cleaning solutions, so patience and careful observation are key.
Remember that this small investment of time can save you from potentially expensive or irreversible damage to your leather item. By methodically testing a hidden area, you’re demonstrating the care and attention your leather piece deserves.
Step 3: Clean the Surface with a Suitable Mixture
Creating the right cleaning mixture is crucial for effectively removing dirt and grime from leather without causing damage. Gentle, purposeful cleaning will help restore your leather’s natural beauty and protect its long-term integrity. Different leather types require specific approaches, so understanding your material is key to selecting the most appropriate cleaning solution.
For most smooth leather surfaces, a mild solution works best. According to Iowa State University Extension and Outreach, using a carefully prepared mixture of mild soap and water can effectively clean leather while preserving its natural qualities. Begin by mixing a small amount of gentle, pH-neutral soap with distilled water. Avoid harsh detergents or household cleaners that might strip away the leather’s protective oils.
Prepare your cleaning mixture by combining approximately one part mild soap with four parts distilled water. Mix thoroughly to create a light, sudsy solution. Dip a soft, clean microfibre cloth into the mixture, then wring it out completely. The cloth should be damp, not wet - excess moisture can damage leather permanently. Gently work the cloth in circular motions, cleaning small sections at a time and avoiding saturating the leather surface.
Special considerations for different leather types include:
- Smooth leather: Use gentle, circular motions
- Suede: Require special dry cleaning techniques
- Vintage leather: Minimal moisture, extra gentle approach
As you clean, continuously check your cloth and switch to a clean section to prevent spreading dirt. Pay special attention to heavily soiled areas, but maintain a light touch. Work methodically across the entire surface, ensuring even cleaning without oversaturating any single area. After cleaning, use a separate dry microfibre cloth to remove any remaining moisture and prevent water spots.
The goal is a clean, refreshed leather surface that looks restored without showing signs of aggressive cleaning. Patience and a delicate approach will yield the best results, protecting your leather’s natural beauty and extending its lifespan.
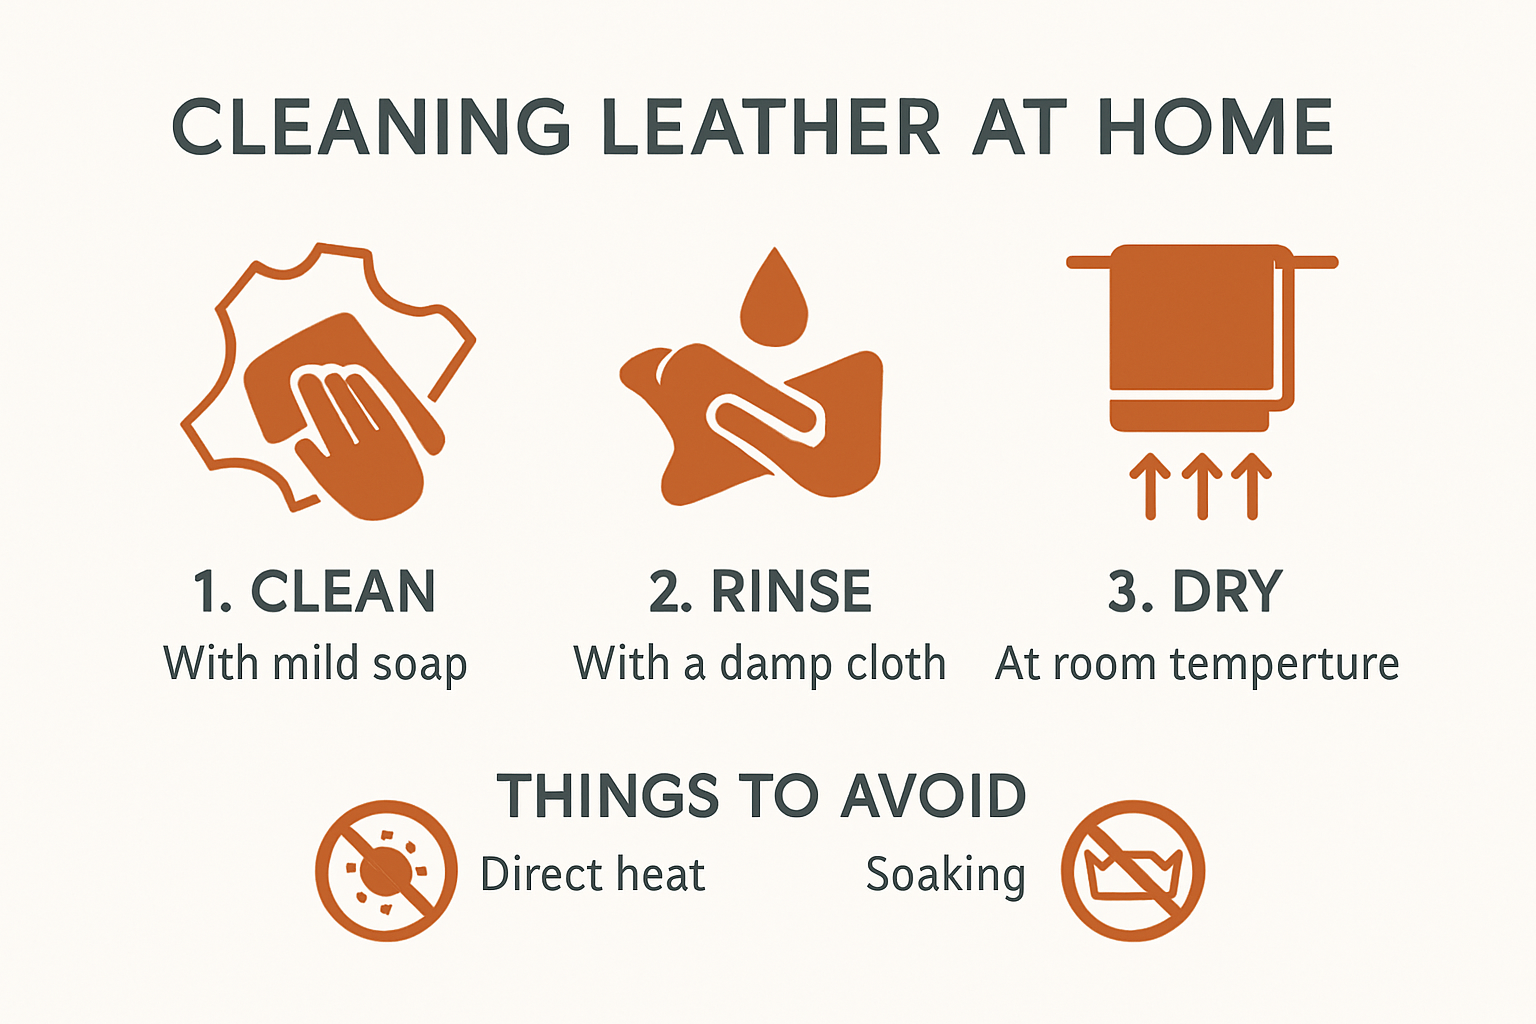
Step 4: Rinse and Dry Properly to Avoid Damage
Rinsing and drying leather requires a delicate touch and precise technique to prevent permanent damage. Water can be leather’s greatest enemy if not managed carefully, potentially causing warping, discolouration, or structural weakness. Your goal is to remove cleaning residue without introducing moisture that could compromise the leather’s integrity.
Begin by using a clean, slightly damp microfibre cloth with distilled water to gently remove any remaining soap or cleaning solution. Never soak the leather - instead, use minimal moisture and work in small, controlled sections. Lightly dampen the cloth, ensuring it’s barely wet, and softly wipe away cleaning residue. The key is to remove soap without saturating the leather surface.
According to the Alabama Cooperative Extension System, proper drying is crucial for maintaining leather’s shape and quality. After rinsing, immediately begin the drying process using clean, soft white towels. Blot - do not rub - the leather surface, allowing the towel to absorb excess moisture. For items like handbags or shoes, stuff them with white paper towels to help maintain their shape and absorb internal moisture.
Drying considerations include:
- Avoid direct sunlight
- Keep away from heating sources
- Use room temperature environment
- Allow natural air circulation
Position your leather item in a well-ventilated area at room temperature, ensuring it’s away from direct heat or sunlight. Leather needs gentle, consistent air circulation to dry properly. If possible, use a fan set on low to provide gentle airflow, but position it at a distance to prevent direct drafts that might cause uneven drying.
Once the leather feels completely dry to the touch, inspect it carefully. A successful drying process leaves no water marks, maintains the leather’s original shape, and preserves its natural texture. The surface should look uniform, without dark spots or unusual sheen that might indicate water damage. Patience during this stage is crucial - rushing can lead to irreversible damage to your cherished leather piece.
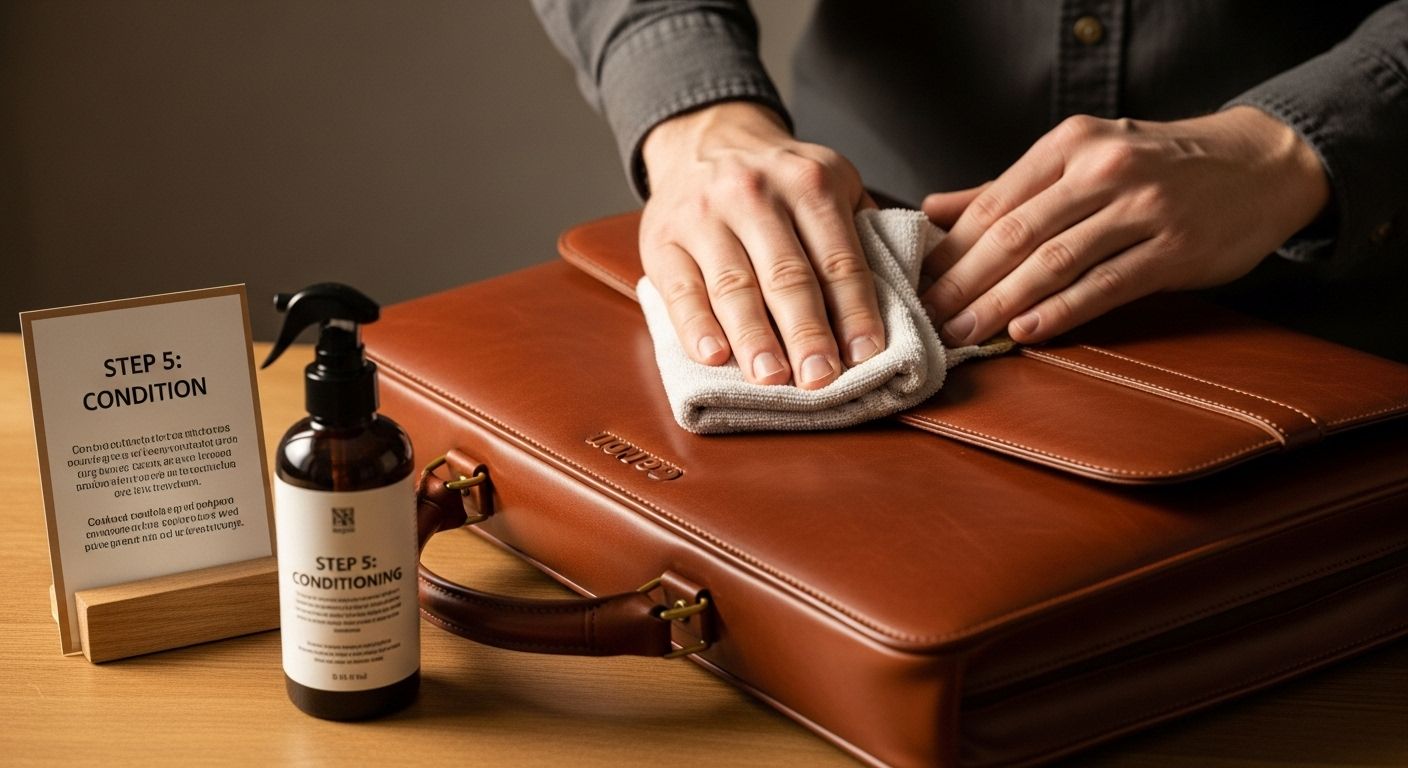
Step 5: Condition the Leather for Longevity
Conditioning is the final and perhaps most critical step in leather restoration, transforming a clean surface into a supple, protected material that will resist future damage. Leather conditioning replenishes essential oils that cleaning processes inevitably remove, ensuring your leather remains flexible, resistant to cracking, and maintains its original luxurious appearance.
Choose a high-quality leather conditioner specifically designed for your leather type. Natural leather conditioners containing ingredients like lanolin or beeswax provide the most effective protection. Before application, ensure your leather is completely dry from the previous cleaning and rinsing steps. A small amount of conditioner goes a long way - you’re aiming to nourish, not saturate, the leather surface.
According to leather preservation experts, applying conditioner requires a methodical approach. Start by placing a small amount of conditioner onto a clean, soft microfibre cloth. Work the product into the leather using circular motions, ensuring even coverage. Apply the conditioner sparingly, allowing each thin layer to absorb completely before adding more. This technique prevents over-saturating the leather and helps achieve a uniform, natural finish.
Key conditioning considerations include:
- Use circular, gentle motions
- Apply in thin, even layers
- Allow 15-20 minutes between applications
- Buff with a clean, dry cloth after conditioning
Pay special attention to areas that experience more wear, such as handles, corners, and folding points. These high-stress zones benefit most from thorough conditioning. After application, allow the leather to rest in a cool, dry environment for several hours, enabling the conditioner to fully penetrate and protect the material.
A successful conditioning process leaves your leather looking revived - with a soft, subtle sheen and improved resilience. The surface should feel smooth and supple, without any greasy residue. By dedicating time to this final step, you’re not just cleaning your leather, but investing in its continued beauty and durability.
Step 6: Inspect and Assess for Any Remaining Stains
After cleaning and conditioning, a thorough inspection is crucial to ensure your leather item has been completely restored. Careful examination reveals subtle imperfections that might have been missed during initial cleaning, allowing you to address any remaining issues before storing or using your leather piece.
Begin your inspection under bright, natural light, which helps reveal nuanced discolorations and remaining stains. Rotate the leather item slowly, examining it from multiple angles. Run your hand gently across the surface, feeling for any textural inconsistencies that might indicate incomplete cleaning or potential damage. Lighting is your most valuable diagnostic tool - natural daylight provides the most accurate representation of the leather’s true condition.
To help you track your progress and ensure comprehensive care, the following checklist table summarises the key inspection points to cover after cleaning and conditioning your leather item.
| Area to Check | What to Look For | Action If Issue Found |
|---|---|---|
| Seams & stitching | Residual dirt, loose threads | Spot clean or secure stitching |
| Corners & edges | Colour variation, staining, abrasion | Re-clean gently; consult a specialist if needed |
| High-friction zones | Wear, cracks, powdery residue | Condition these areas; monitor |
| Overall surface | Subtle stains, uneven texture | Spot clean again or seek professional advice |
| Handles, folding points | Dryness, stiffness, weakness | Apply extra conditioner |
| Leather texture | Inconsistent feel, rough patches | Assess if further cleaning/conditioning required |
| General appearance | Uniformity of colour & finish | Ensure no streaks/stains remain |
According to the Alaska State Library, special attention should be paid to high-wear areas like handles, corners, and stress points. Look for signs of potential deterioration such as stiffness, powdery surfaces, or areas where the leather seems weaker or more fragile. These zones often require extra care and might need targeted treatment or professional assessment.
Key inspection points include:
- Check seams and stitching for residual dirt
- Examine corners and high-friction areas
- Look for colour variations or subtle staining
- Feel for textural differences across the surface
If you discover persistent stains that didn’t respond to your initial cleaning, resist the temptation to apply more aggressive treatments. Some stubborn marks might require professional intervention. For delicate or valuable leather items, consulting a leather restoration specialist can prevent potential damage from overzealous home treatments.
A successful inspection leaves you confident in your leather’s renewed appearance. The surface should look uniform, feel smooth, and show no signs of remaining dirt or uneven cleaning. Trust your eyes and touch - they’ll reveal whether your leather restoration efforts have truly been successful.
Protect Your Investment with San Rocco Italia’s Artisan Approach
Caring for your leather at home safeguards your most treasured possessions from wear, discolouration, and accidental damage. Yet, maintaining that timeless beauty can be challenging, especially when it comes to selecting the right products and techniques for high-quality full-grain leather. The article has shown how proper cleaning and conditioning are essential to avoid common pitfalls like dryness, loss of suppleness, and stains. Behind these steps lies a deeper goal: preserving the original artistry and elegance you fell in love with.

Transform your care routine and rediscover the pleasure of true Italian craftsmanship. At San Rocco Italia, our luxury handbags and accessories are made with the finest materials and traditional expertise, offering you a collection that is both resilient and stunning. Whether you seek to restore a beloved piece or invest in a new classic, visit our homepage to explore leather goods crafted to be cherished for years. Now is the perfect moment to experience care and quality at their highest standard—your next step towards enduring style awaits.
Frequently Asked Questions
What cleaning supplies do I need to clean leather at home?
You will need soft, lint-free cloths, a pH-neutral leather cleaner, a soft-bristled brush, leather conditioner, distilled water, white vinegar for stubborn stains, and a leather protectant spray.
How can I test a cleaning solution on leather before applying it?
Select a hidden area, such as an inside seam or corner, and apply a tiny amount of the cleaner with a clean white cloth. Observe for any colour bleeding, texture changes, or unusual reactions for 10-15 minutes.
What is the best way to condition leather after cleaning?
Apply a small amount of high-quality leather conditioner with a clean microfibre cloth in circular motions, allowing it to absorb before applying more. Buff with a dry cloth afterward and focus on high-wear areas.
How can I ensure my leather dries properly after cleaning?
Use a clean, slightly damp cloth to remove any residue, then blot the surface with soft towels. Allow the leather to dry at room temperature away from direct sunlight or heat sources, using a fan for gentle air circulation if necessary.
